Projects#
Projects contain all of the components needed to use or run an application. This includes relevant packages, channels, scripts, notebooks, files, environment variables, services and commands, and a core configuration file named anaconda-project.yml. They provide a method to accurately reproduce your work and collaborate on it with other team members. Projects automate setup steps such as installing packages, downloading files, setting environment variables, and running commands.
Use Anaconda Project to archive your project directory into a .tar.bz2, .tar.gz, or .zip file for portability purposes and to share with others. For more information, see the official Anaconda Project documentation.
Package Security Manager (On-prem) enables you to upload and share Anaconda Project files within a channel. You can move, copy, and share your project with your team or provide authorized users access to the channel.
Uploading a project#
The process for preparing a project for upload differs depending on the project type. Please follow the relevant guide to prepare your project for upload before continuing:
Log in to Package Security Manager.
Select a channel that you want to upload a project to.
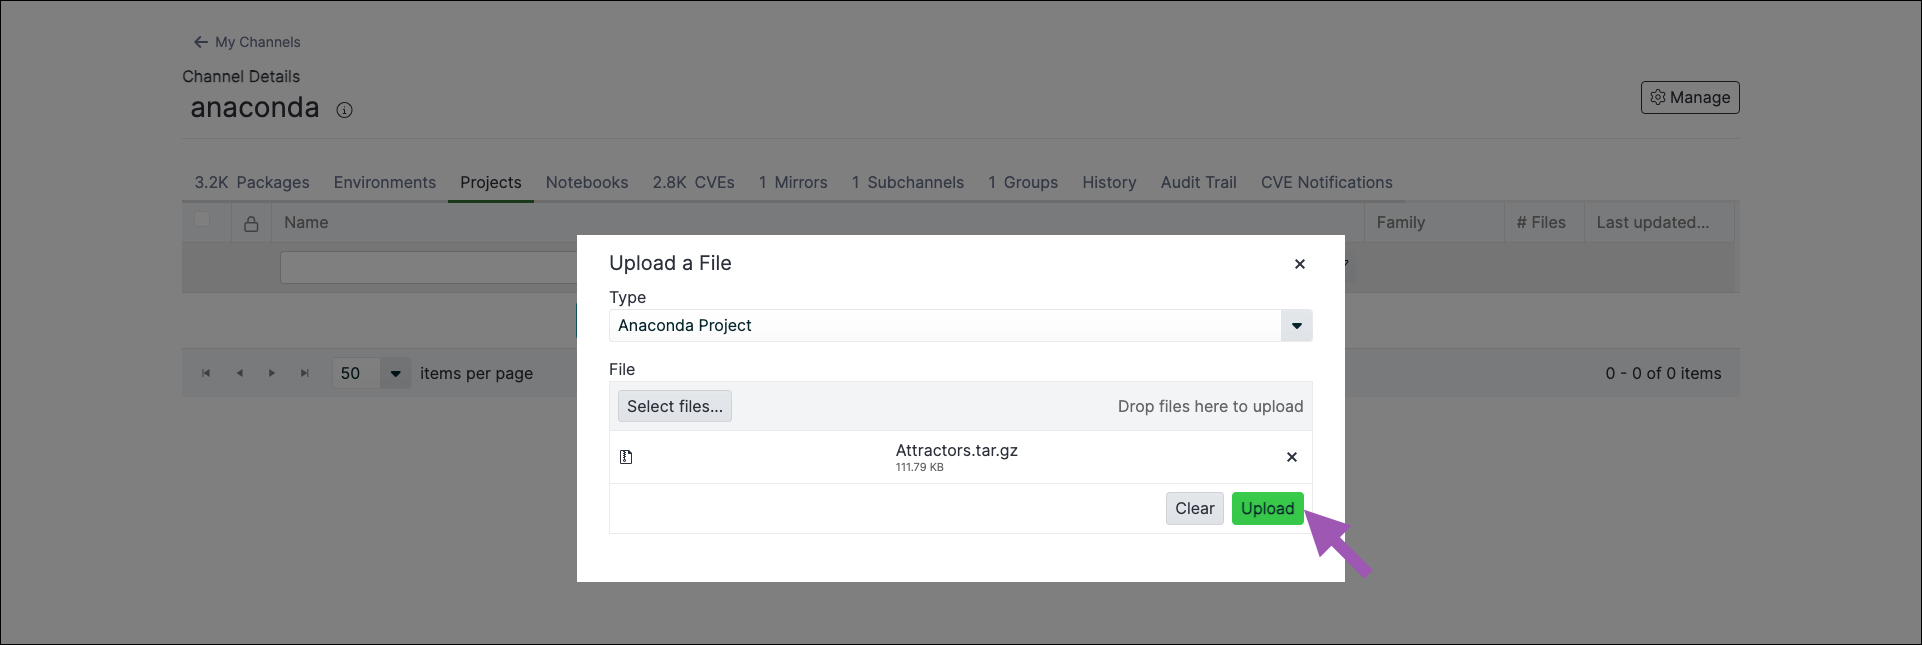
Open the Manage dropdown menu and select Upload File.
Open the Type dropdown menu and select Anaconda Project.
Click Select files… then locate and upload your project file, or drag and drop your project file into the field.
Click Upload.
Downloading a project#
To download a notebook from a channel or subchannel:
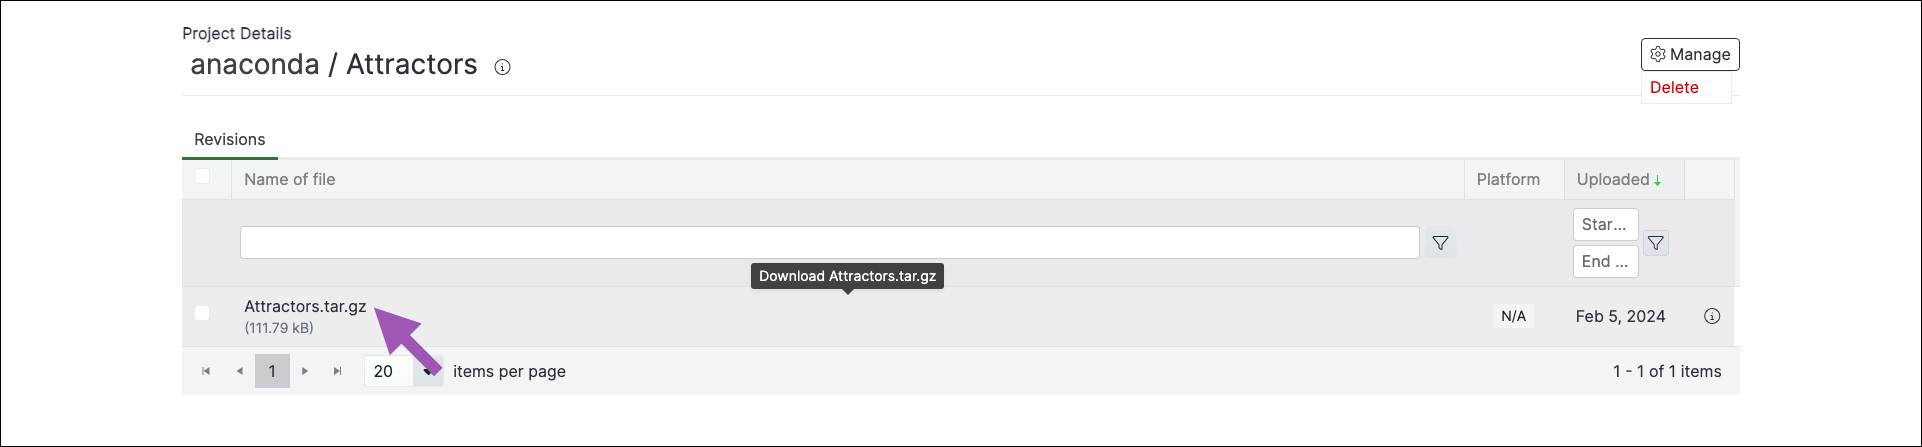
From the channel or subchannel details page, select the Projects tab.
Select a project to view its details page.
Click the project name to download it.
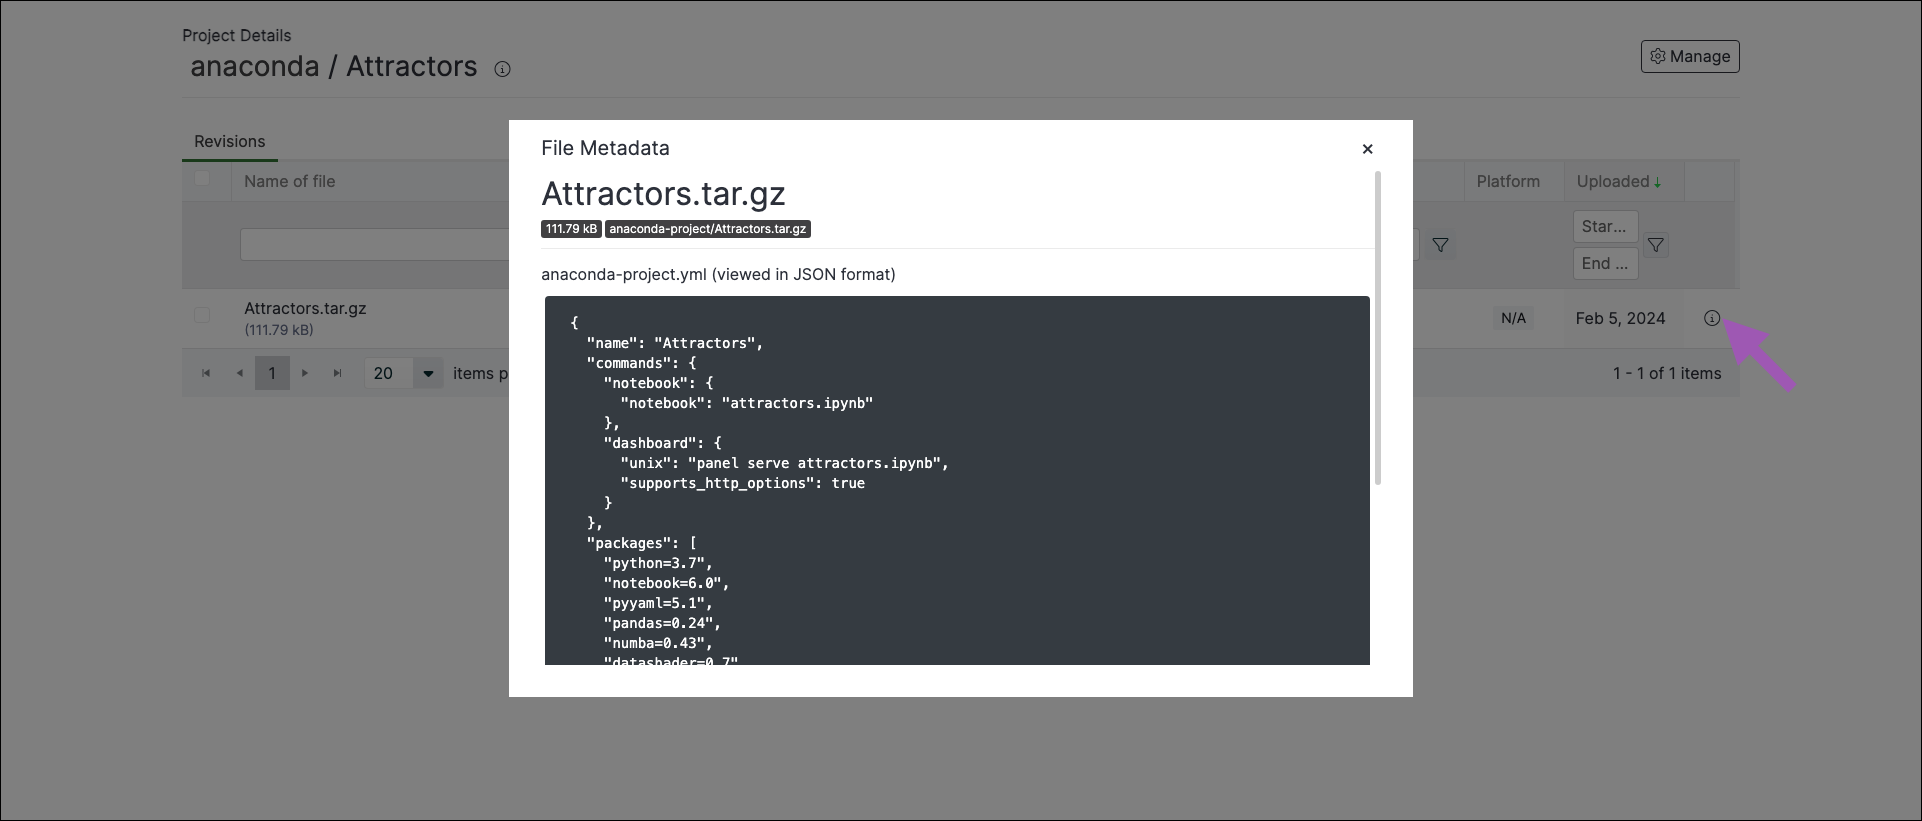
Viewing project metadata#
From the project details page, click the information icon to view a file’s metadata.
Moving a project#
From the channel or subchannel details page, select the Projects tab.
Select the checkbox beside the projects you want to move. File management buttons appear at the top of the list.
Click Move # projects.
Open the Move To: dropdown menu and select a destination channel or subchannel for your project.
Click Move.
Note
Moving a project will remove it from its origin channel.
Copying a project#
To copy a project from one channel or subchannel to another:
From the channel or subchannel details page, select the Projects tab.
Select the checkbox beside the projects you want to copy. File management buttons appear at the top of the list.
Click Copy # projects.
Open the Copy To: dropdown menu and select a destination channel for your projects.
Click Copy.
Note
Copying a project will not remove it from its origin channel.
Deleting a project#
To delete a project from a channel or subchannel:
From the channel or subchannel details page, select the Projects tab.
Select the checkbox beside the projects you want to delete. File management buttons appear at the top of the list.
Click Delete # projects.
Click Delete to verify you want to delete your selected projects.